
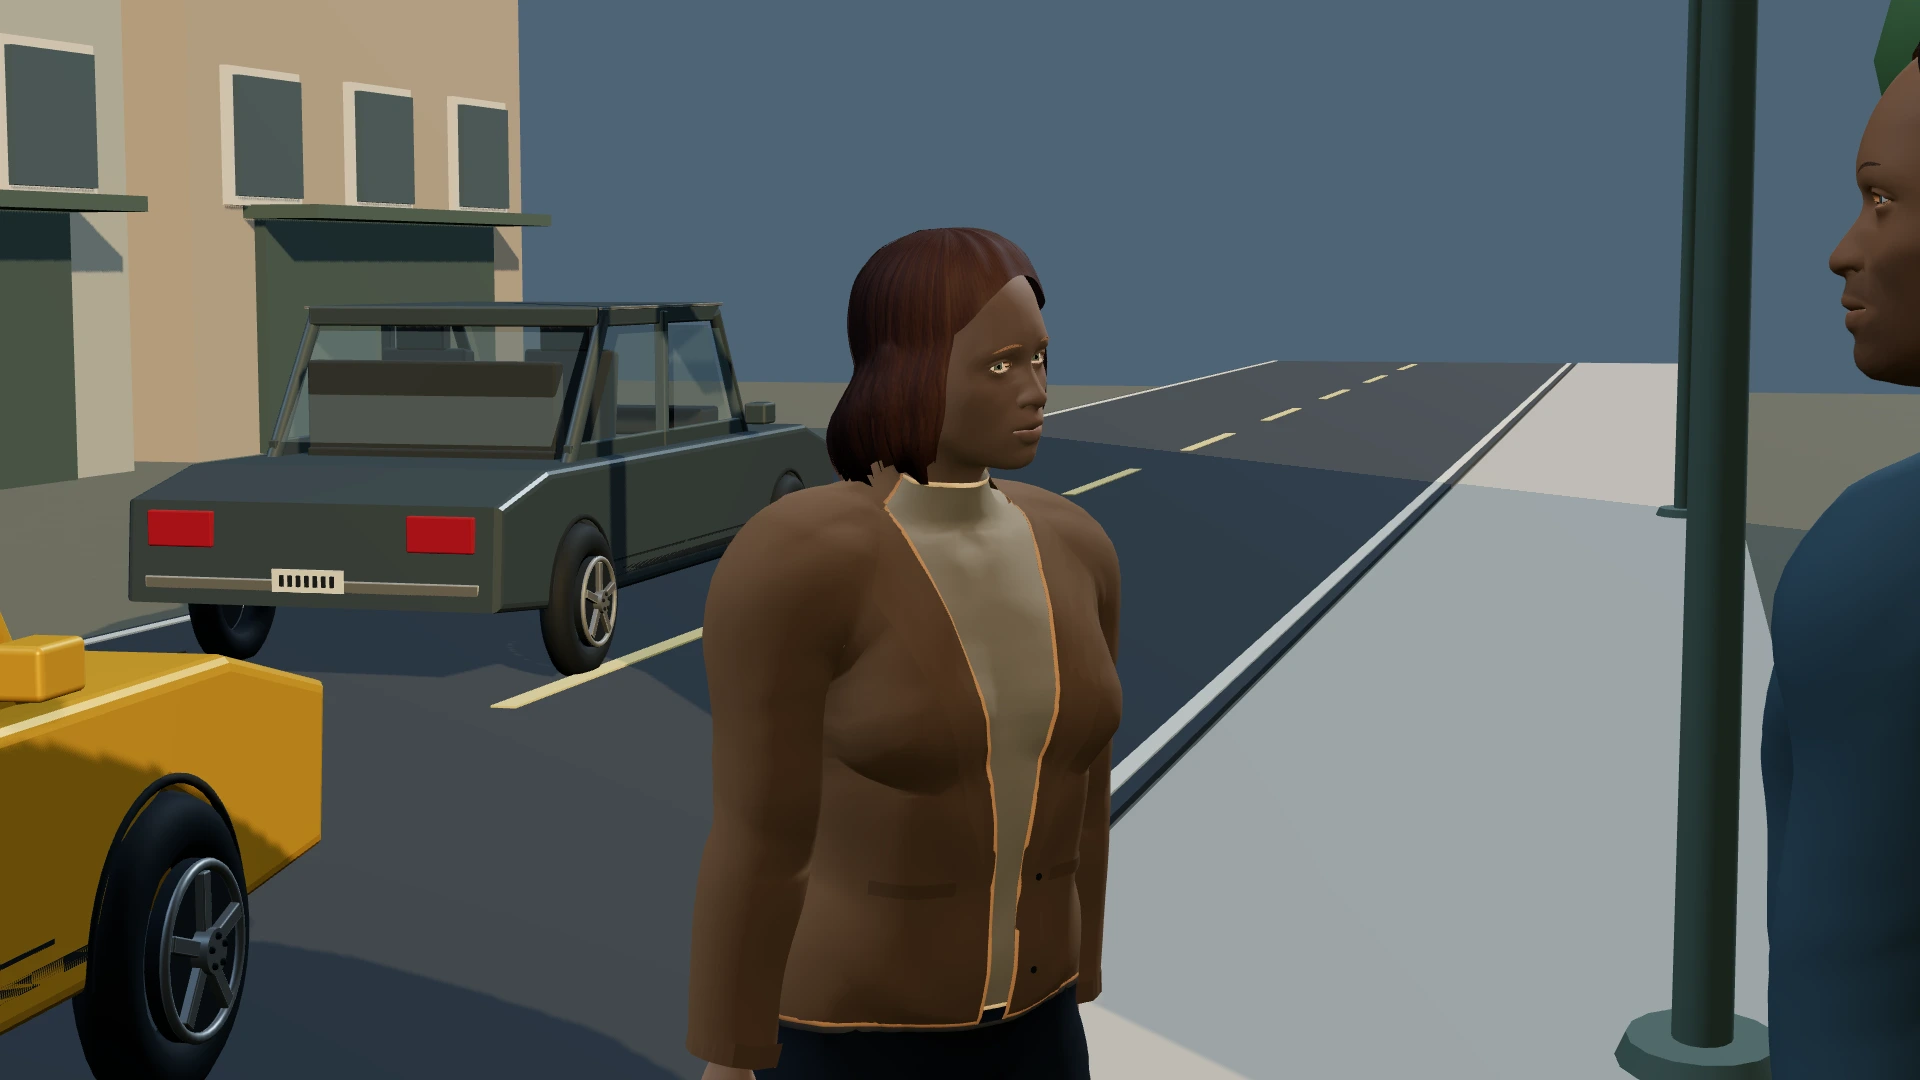
01 / Find what changes in the scene.
Read the scene once for story, then again for observable action. Who wants something, what gets in the way, and what is different by the end? Suppose a passenger asks a driver to wait, then notices someone approaching from behind. The important visual information is the request, the driver’s reaction and the discovery. You need frames that communicate those beats, not a new camera angle for every line of dialogue.
02 / Establish geography before coverage.
Make a rough plan of the location. Mark the vehicle, the two speakers, the approaching person and the available space around them. Decide which direction each person looks. In a 3D workflow, position a few simple props and actors before adding detailed dressing. In a drawn workflow, a top-down sketch does the same job. Choose a wide view that establishes the relationship. Check that the camera is not hiding the very entrance the audience needs to notice.
03 / Give each closer frame a reason.
Choose the next angle for information or emotion. An over-the-shoulder frame can connect a question to its listener; a closer reaction can show that the answer has changed the scene. Track screen direction as you move around the pair. Crossing the line of action may be intentional, but it should not happen unnoticed. Test the height and focal length as well as camera position. If an angle adds no useful information, try removing it from the sequence.
04 / Capture, describe and time the sequence.
Once the blocking and camera are ready, save the frame. Add a short action description and a note explaining what matters: the glance, the hand on the door, or the approaching figure entering the background. Arrange frames in the order the audience will see them and assign rough durations. Watch them as a simple animatic. Look for missing geography, repeated information and cuts that arrive before the performance has time to register.
05 / Turn the visual plan into a useful handoff.
Review the storyboard with the people who will use it. A director may need emotional intent; a camera team may need setup and movement; production may need to know that the parked taxi must remain in place. Export a storyboard PDF for the sequence and a shot list for the working details. Add room for notes and reshoots. In Page & Frame, screenplay scenes, reusable sets and captured shots connect within the same local project; the method also works with paper sketches and a simple table.
How many storyboard frames does a scene need?
Enough to communicate its important visual changes. There is no fixed count per script page. Begin with the story beats and required coverage, then add frames when a movement, reveal or change in composition needs explanation.