Name the turn before choosing a lens.
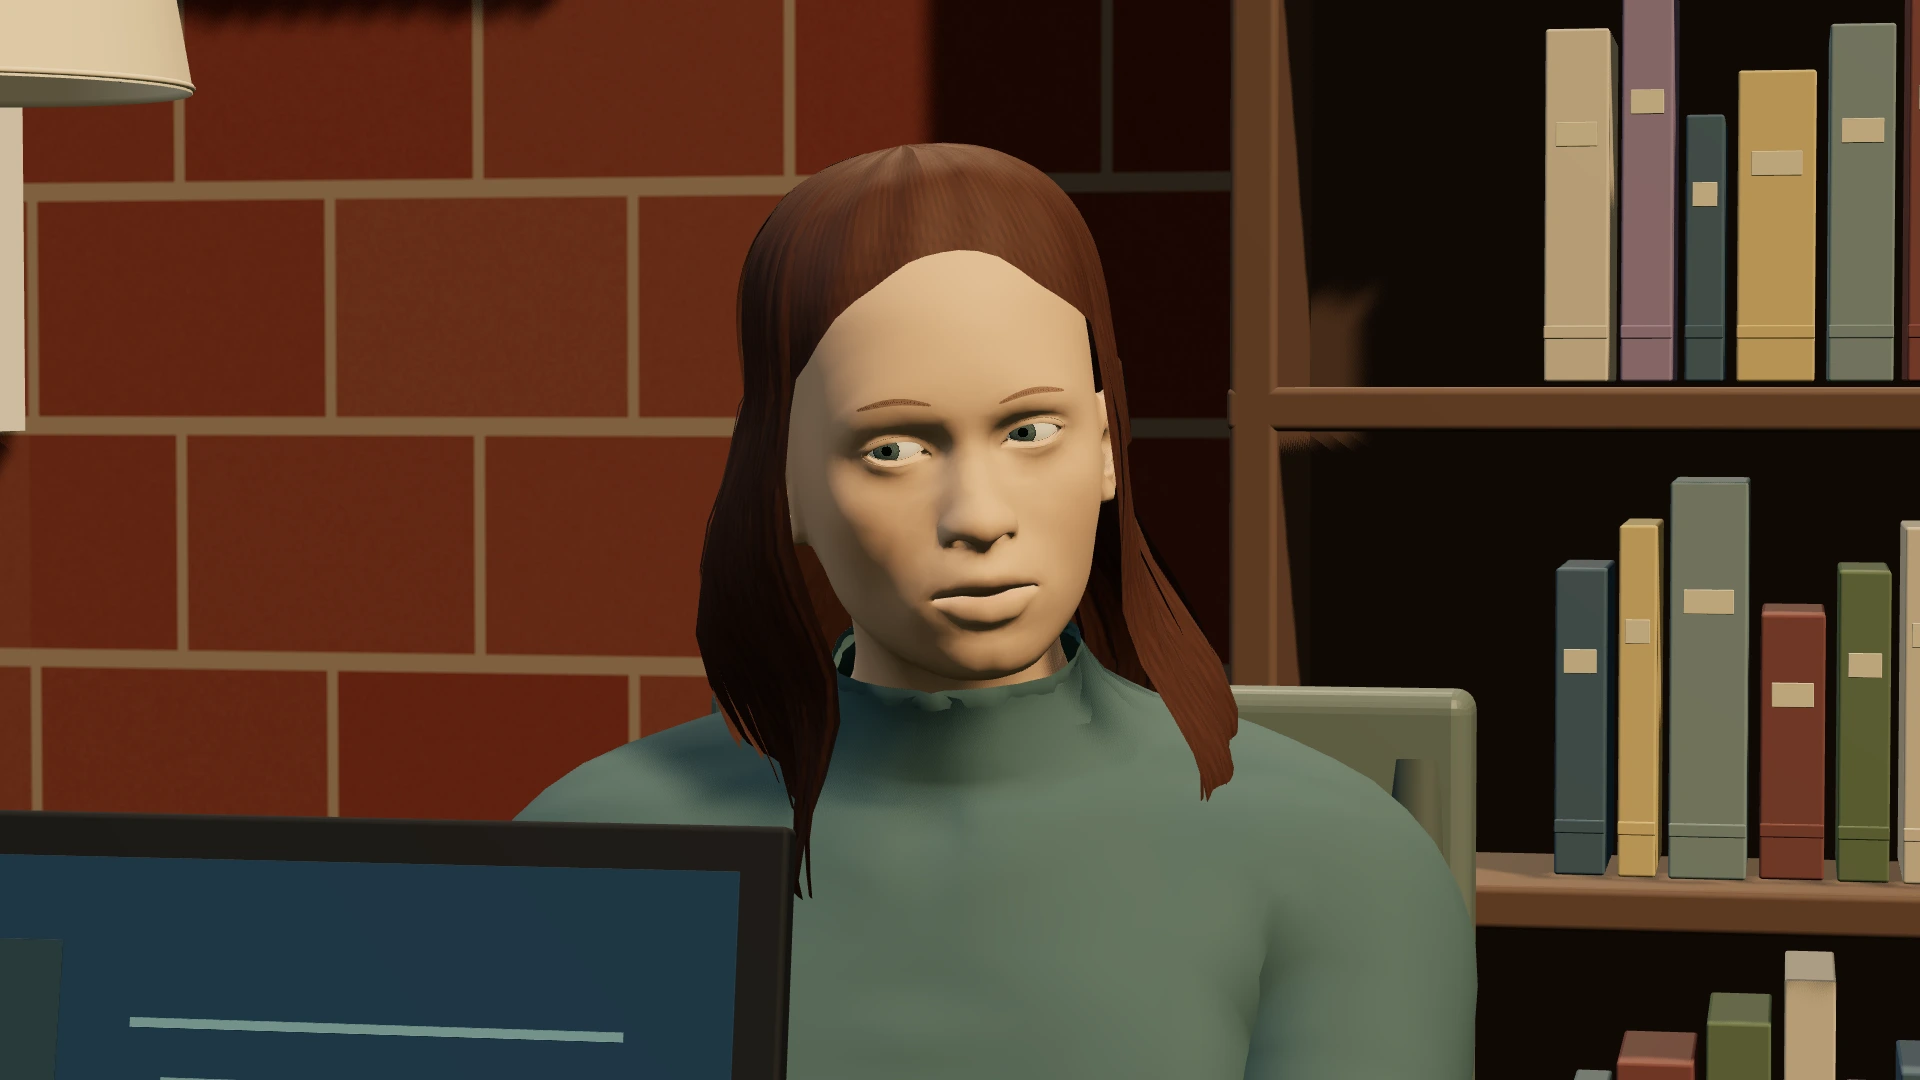
Write one sentence about what changes during the exchange. Perhaps a visitor arrives expecting permission and leaves knowing they have been refused. The scene’s turn tells you what the audience needs to understand. A close-up matters when it reveals a decision, a hesitation or the cost of a line; it does not become meaningful simply because the face is large in frame.
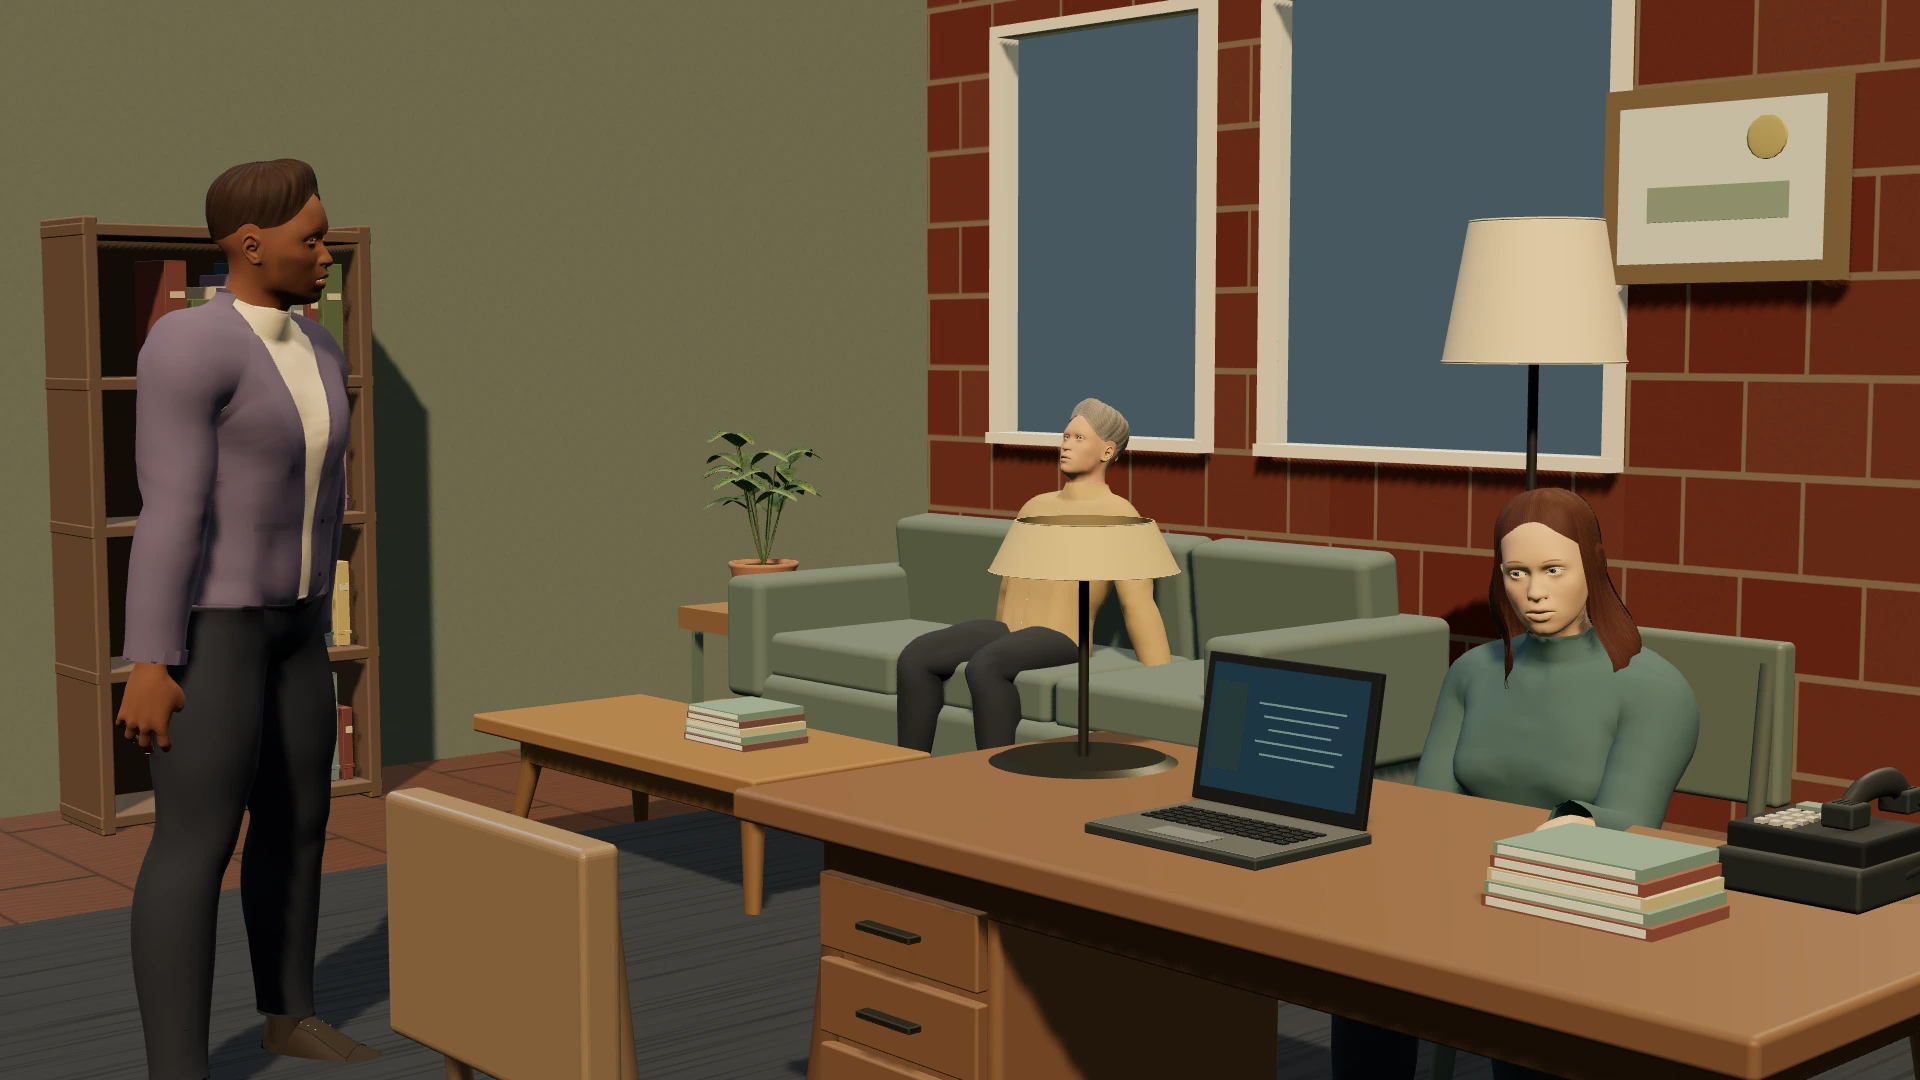
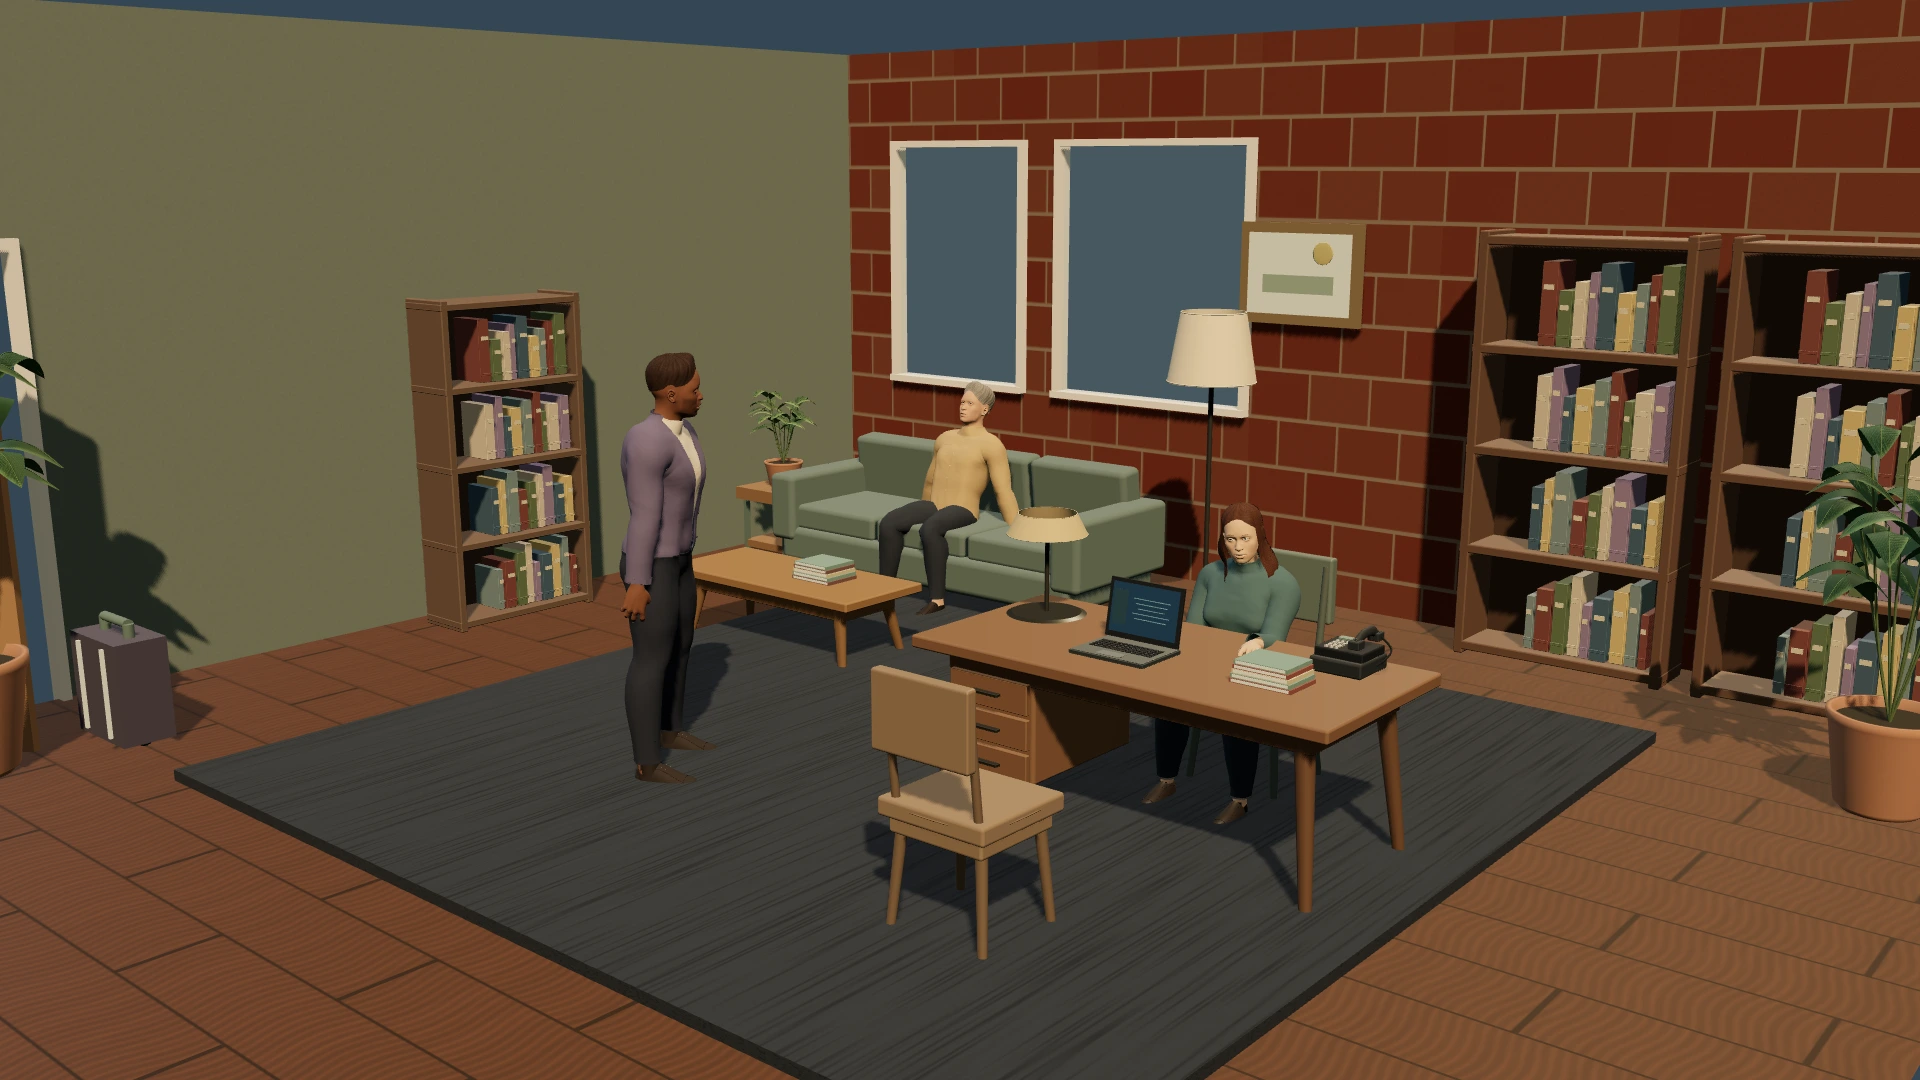
For this exercise, imagine that the visitor needs an answer from the person behind the desk. The room can reinforce the imbalance: one person owns the space while the other has crossed it to ask for something. That is a hypothetical blocking exercise using the original After Hours location, not a claim that the screenshots are a finished film or a record of a particular performance.
Make the geography legible.
Choose a wide reference that shows where the speakers sit or stand, which direction they face and how the entrance connects to the conversation. Check that a desk, chair or supporting character does not obscure the action you want the audience to follow. You are establishing the physical facts of the scene so that later close shots do not have to explain them again.
In a 3D planning workspace, move around the setup view before settling on the camera frame. Look at the route from the door to the desk and the space available for the visitor. A visually busy room can still be readable if the important relationship is clear. Conversely, an almost empty set can be confusing if the chosen camera hides how the characters relate to one another.
Choose a side of the conversation deliberately.
Imagine a line joining the two principal speakers. Keeping related camera angles on one side of that relationship often helps screen direction remain easy to follow. Look at the eyelines in adjacent frames: do the people appear to look toward one another, or does the sequence accidentally suggest they are facing the same way? This is a planning check, not a rule that forbids an intentional change of viewpoint.
If the characters move or the power relationship changes, the geography can change too. Plan how the audience will learn that change. A wider frame, a visible movement or another clear spatial cue can make a new angle understandable. Do not treat a list of lens values as a substitute for reviewing the actual frames side by side.
Let the listener carry a beat.
Dialogue does not belong only to the person speaking. Hold on the listener when the important information is what they choose to reveal or hide. A reaction can make the audience anticipate the answer before a line is spoken. Use posture, distance, eyeline and expression together; a face alone cannot explain a scene if the blocking contradicts the intended relationship.
In Scene Stealer, stage the character and camera before capturing the frame. Check hands against the desk, feet against the floor and nearby props against the model. Small intersections can distract from the emotional reference. A planning frame is not a performance capture, so write a short note about the beat the actor and director need to discuss rather than expecting a posed model to communicate every nuance.
Give each saved shot a job.
Review a small sequence: a wide that establishes the room, a closer exchange and a reaction at the turning point. Ask what each frame adds. If two adjacent shots communicate the same information, decide whether the second provides an editing option or merely repeats the first. Add a clear description to explain the purpose, especially when the planned action is not visible in a single still image.
Camera height, distance and focal length can change the emphasis. Check the actual composition after every adjustment; do not assume that a longer focal length automatically produces a better close-up. Keep useful background context and avoid accidental obstructions. Capture the shot when the staging works, then order the saved frames to review the exchange as a sequence.
Print the plan and leave room for the shoot.
Use a storyboard when you want to communicate the visual sequence. Use a shot list when the crew also needs a practical record of what to capture. Page & Frame supports saved-frame references in visual shot lists, with notes space and Done/Reshoot checks. Choose 4, 6 or 8 shots per printed page according to the amount of detail people need to read. A small thumbnail is only useful if the composition remains understandable at that size.
If you are planning before the app launches, use the free blank worksheet and sketch or annotate the frames yourself. Keep space for changes you discover on location: an actor may find a better position, a doorway may be narrower than expected or a reflection may affect the camera. The point of planning is to arrive with clear intentions and usable options, then make informed decisions during the shoot.
How many shots does a dialogue scene need?
There is no fixed number. Start with the information the audience needs, the change between the characters and the editing options the production can afford. A small, purposeful coverage plan is a better starting point than an arbitrary quota of close-ups.
Before you call the coverage ready.
- The scene’s turning point is clear in one sentence.
- The wide shot explains the room and character positions.
- Adjacent frames have understandable eyelines and screen direction.
- A reaction shot reveals a specific beat.
- Hands, feet, furniture and props do not visibly intersect.
- Each shot has a purpose and any important movement is described.
- The printed sheet leaves room for notes and changes on the day.